| MyEclipse Blue Edition can work seamlessly with your existing WebSphere installations and RAD projects...really! Here's how you can quickly get started by installing MyEclipse Blue
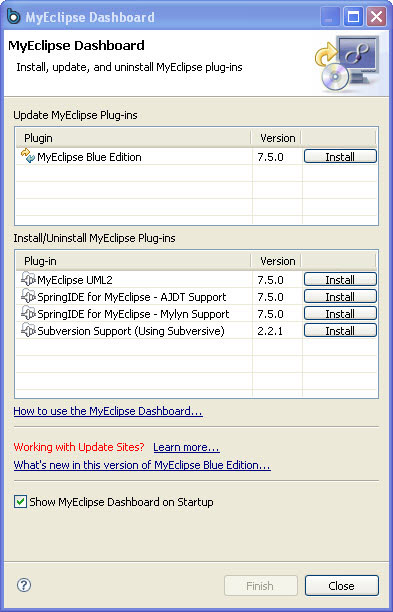
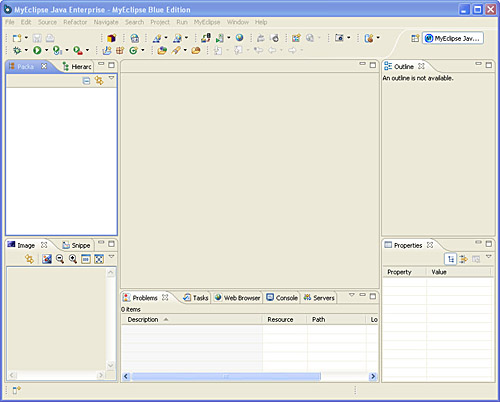
First, we'll assume you've downloaded MyEclipse Blue Edition from On the product startup, you'll see the nice MyEclipse Blue splash Just in case you're unfamiliar with the process, MyEclipse, like You'll also be shown the MyEclipse dashboard, which allows you to Now you'll see the main MyEclipse Blue Edition Workbench. There are lots of perspectives available to you, but for now we just
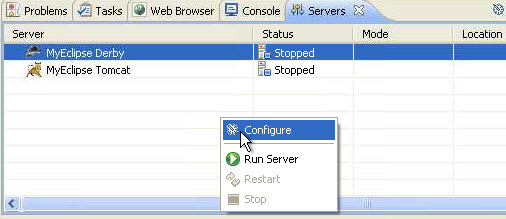
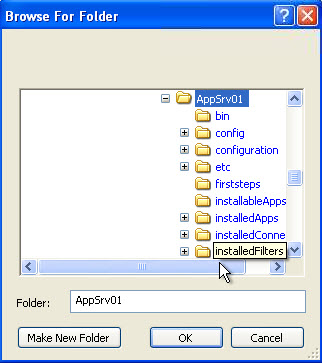
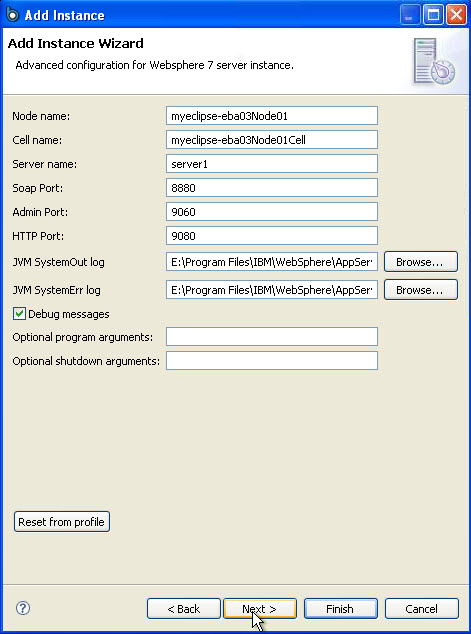
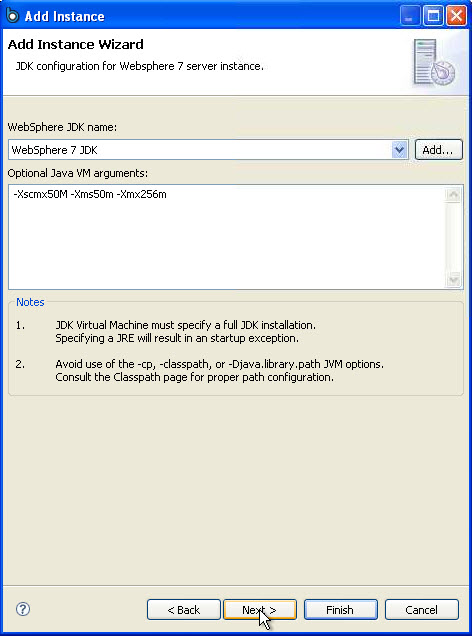
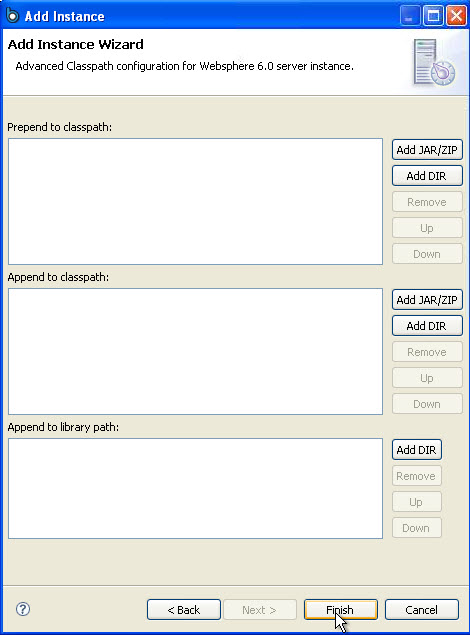
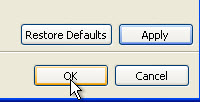
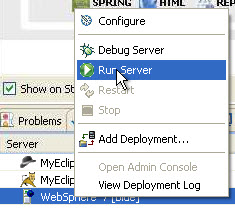
Hit the servers tab near the bottom of the workbench and right Note: MyEclipse comes bundled with Derby and Tomcat, but we Our server preferences page will pop up to allow you to easily You'll then be asked to browse to your existing installation of Once you have the directory selected, click on the "Add" button to Once you click "Add," the "Add Instance" wizard will appear, In my case, the profile is called "AppSrv01." Hit "OK." You'll see that the wizard has just populated the many required We'll also have some arguments automatically applied for us. Again, Finally, hit "Finish," again with no changes. If you don't know about Hit "Apply," then "OK." WebSphere 7 will now appear in the Server tab we were in before, If you're familiar with WebSphere, you likely have experienced the
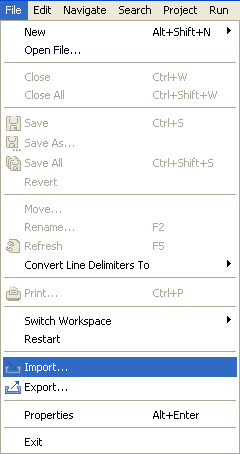
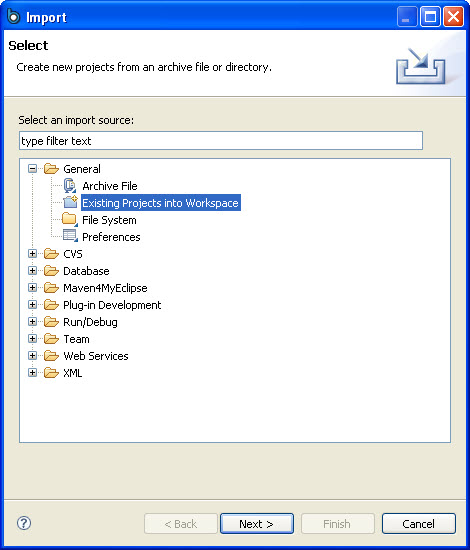
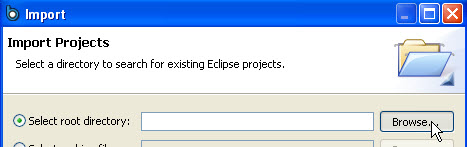
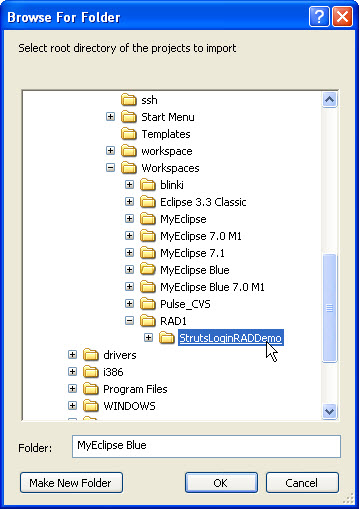
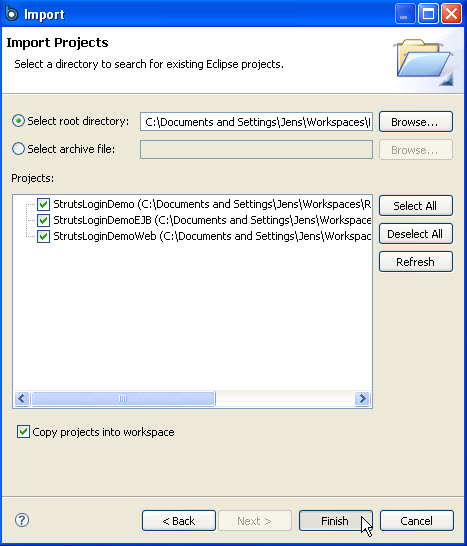
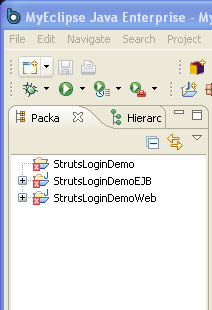
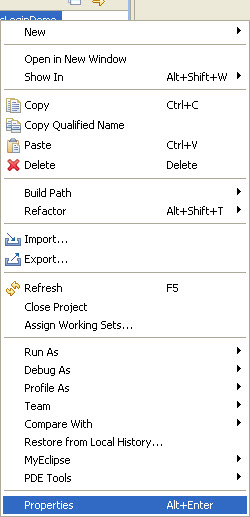
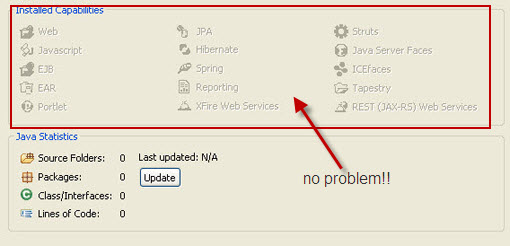
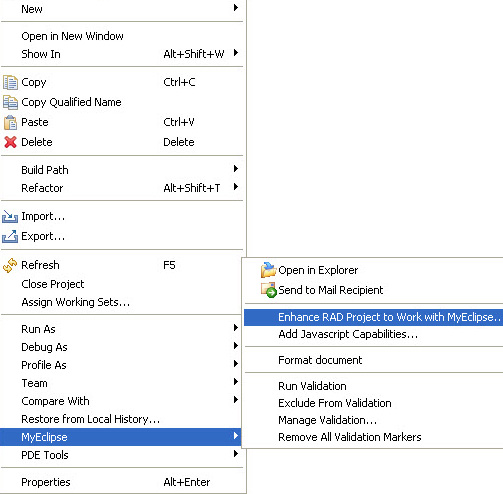
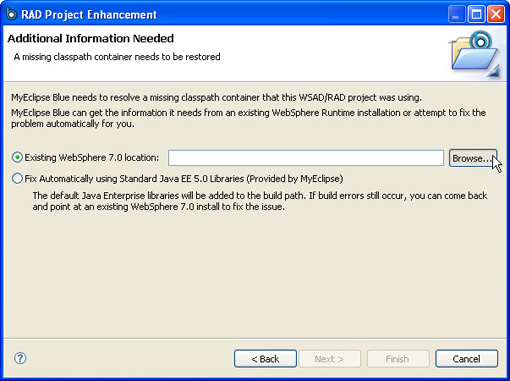
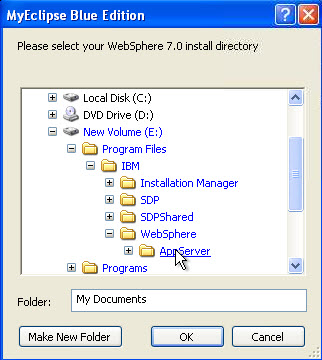
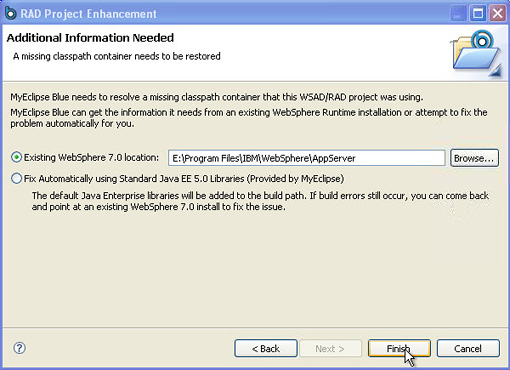
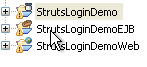
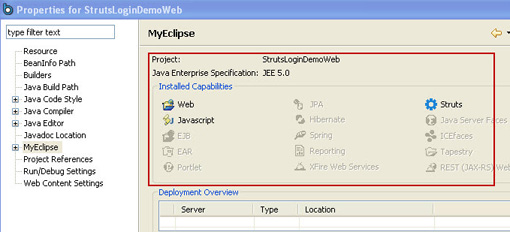
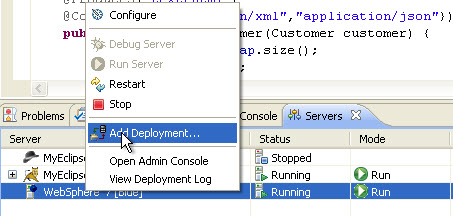
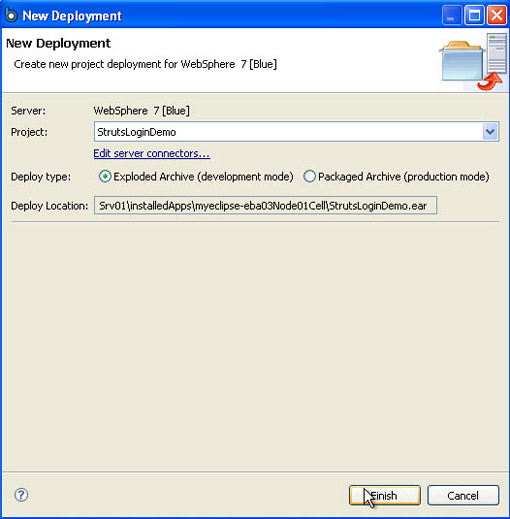
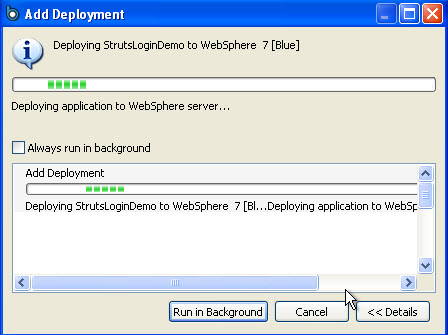
Our workspace is still currently empty, so we'll need to pull in a This is fairly self-explanitory. Select "Existing Projects into First, browse to select the root directory of your RAD projects. In this case, my RAD workspace is located in with my other MyEclipse Now that you've found and selected your RAD projects, MyEclipse will The projects will appear in your package explorer, which was Let's right-click on the project and select "Properties" to see Hmmm... looks like my project has no installed capabilities. As you see, MyEclipse doesn't fully understand that this is a RAD Just right-click on the project again and go to MyEclipse > Enhance Obviously, we're making the RAD project readable in Myeclipse with IMPORTANT: MyEclipse does not change or compromise the RAD A wizard will magically appear, as wizards do, that will double-check Now, we'll need to enter in our existing WebSphere installation But why do you need to specify the location again? MyEclipse has read your project's metadata and discovered that your Tip: if you don't have a local install of WebSphere to point Since we're working with a local installation of WebSphere in this Just hit "Finish" and we're through with this handy-dandy wizard. You'll see that the little error messages are gone from our projects But, just to be sure, let's right-click on our project and hit "Properties" Now, it's time to run the project in our newly-configured WebSphere Select the project you want from the drop-down menu, and select any You'll see MyEclipse hard at work deploying your project. You're done! You've gotten WebSphere 7 up and running and imported and run your RAD projects; all from within MyEclipse Blue Edition! "But, wait," you may say. MyEclipse Blue Edition is intended to be a 2-way street. You can We hope you enjoyed the tutorial and know you'll enjoy adding the If you have further technical questions about Blue, please visit our For licensing and quotes, please contact |